What Causes Low Water Pressure?
There are many potential causes for low water pressure. Some are an easy fix that can be done DIY, while others can be more serious and require the assistance of a certified plumber. Determining the source of the problem is the first step to finding a solution. Here is a list of causes for low water in houses:
– Leaks
Leaks in one or more of your water pipes can reduce your water pressure. It’s important to seek the help of a licensed plumber if you suspect your water pressure problems are from a leak. Leaking pipes can lead to dangerous and costly water damage if left untreated. Signs of leaks include water stains on the ceiling and/or walls, puddles of water below pipes, and mold growth on the walls and ceiling.
– Improperly Set Pressure Regulator
Pressure regulators ensure water flows through your faucets, appliances, and showerheads at a consistent rate. If the regulator isn’t set correctly, you could be getting water pressure that’s too high or too low. However, if the pressure regulator is set properly and you’re still getting little to no water pressure, it may be an indication the pressure regulator is faulty and needs repairs.
– Corroded Pipes
It’s not uncommon for pipes to corrode as they reach the end of their lifespan. The lifespan of your pipes will vary depending on the type of material they’re made of. For example, galvanized steel pipes can last 20 years before the chances of corrosion increase. Copper pipes typically last up to 50 years and brass pipes 40 to 70 years. Replacing old and/or corroded pipes requires the expertise of a professional plumber.
– Clogged Pipes
Pipes and plumbing fixtures can become clogged with limescale and other debris. If you notice that the water pressure is only low in one of your showers or sinks, you may be dealing with a clog. Inspect your facet or showerhead for signs of mineral buildup such as green or white residue. Applying vinegar, lemon juice, or a baking powder paste to the affected fixture can loosen the buildup.
– Running Multiple Water-Appliances Simultaneously
Running multiple appliances and fixtures at once increases the water demand, which leads to reduced water pressure. Rather than using the dishwasher, washing machine, shower, and sinks simultaneously, consider staggering your usage throughout the day. For example, turning the dishwasher on in the morning, the washing at night.
– Partially Closed Main Water Valve
Main water valves control the water supply to your home. Partially shut valves restrict the flow of water. The two types of valves are ball and gate valves. To open a ball valve, you’ll need to push the handle to align with the water pipe. To open a gate valve, move the handle counterclockwise until it stops, then back a quarter turn to prevent it from leaking or seizing.
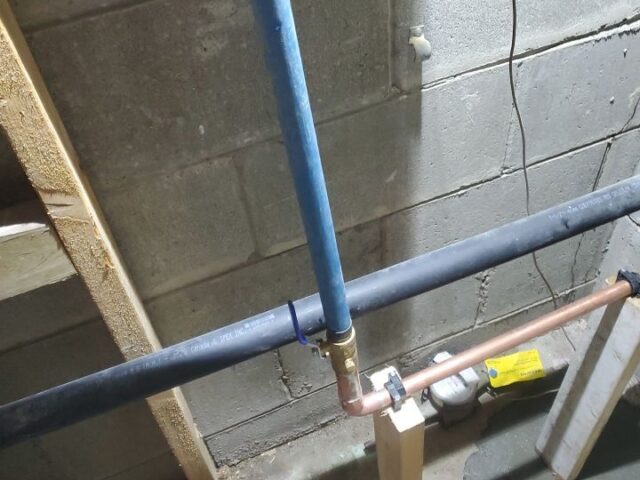
– Closed Water Metre
Water metres are used to measure your home’s water usage. When the water metre is partially or fully closed, the flow of water is restricted. You can access and open the water metre without a plumber’s assistance; however, you should consult with your utility company or an experienced plumber if you have any trouble.
How To Check for Low Water Pressure
Water pressure is measured in pounds per square inch (PSI). Typically, the ideal pressure for a residential home range between 45 PSI and 80 PSI. If your water pressure is under 40 PSI, you’ll likely be experiencing low water pressure. Water pressure that’s over 80 PSI can lead to damaged fixtures and appliances. The following are two simple ways to test the water pressure in your home:
Use a Water Pressure Gauge
You can often find a standard water gauge at your local hardware store. Using a water gauge is the easiest and most accurate method to test your water pressure. After purchasing the pressure gauge, follow these steps:
Perform the Bucket Test
An alternative to using a water pressure gauge is the bucket test. For this test. you’ll need a one-litre bucket and a timer. Once you have your supplies, follow these steps:
- Place the bucket under a faucet, such as in a bathtub.
- Turn the faucet on all the way and start the timer.
- Stop the timer at six seconds.
If the bucket didn’t fill completely in six seconds or less, it’s likely you have low water pressure.
How To Fix Low Water Pressure in One Faucet
Reduced water pressure in just one faucet often indicates a localized problem. Your faucet may be suffering from a clogged or dirty aerator, a partially closed valve, or another isolated issue.
- Clean the Aerator: Aerators are a mechanism at the tip of the faucet. It prevents water from splashing in the sink. Over time, aerators can get clogged with limescale, mineral deposits, and dirt or other debris. Remove the aerator and give it a thorough cleaning.
- Open Water Valves: Kitchen and bathroom sinks have water shut-off valves located below the basin. If you check the valve and it’s partially closed, close it completely, then reopen it to restore your water pressure.
- Replace Worn or Damaged Parts: Your faucet’s cartridges or stems may be damaged or worn out. Cartridges and stems control the flow of hot and cold water. While you can try to repair or replace these components on your own, it’s a good idea to consult a plumber for the best results.
How To Fix Low Water Pressure in the Whole House
Water pressure that’s low throughout the entire house can signify that there’s a more complex issue that requires a plumbers help. The source of the issue may be an extensive leak, a municipality water supply problem, or a broken pressure regulator. A qualified and experienced plumbing company such as WaterGuard Plumbing can identify the exact cause of the low pressure and fix it without further complications.
How To Fix Low Water Pressure from Hot Water Only
Having poor water pressure only when you’re using the hot water has many potential causes. Here is a list of possible culprits:
- Water Filter: Water filters need to be maintained through regular cleaning and replacement. Blocked, dirty, or worn-out water filters can decrease your hot water pressure.
- Water Heater/Hot Water Storage: Water heaters and hot water supply tanks can suffer from leaks, rust, or built-up mineral deposits. Any of these issues can lower your hot water pressure.
- Temperature-Pressure Relief Valve: Corrosion and mineral deposits can cause a temperature-pressure relief valve to freeze or get stuck, preventing it from functioning effectively.
How To Fix Low Water Pressure After a Repair or Renovation
After a renovation, plumbing repair, or new plumbing installation, you can experience low water pressure for various reasons. Here are a few tips for finding and resolving the cause of the poor water pressure:
- Check the Shut-Off Valves: During repairs and construction, main water valves get shut off to keep water from leaking into the space. Following plumbing repairs or a renovation, the main shut-off valve may not be completely opened.
- Open All the Taps: When plumbing systems are drained for repairs or new plumbing installations, air can get trapped in the water lines. This creates an airlock which restricts the water flow. To clear the lines, open all your taps and let the water run until it flows smoothly.
- Call Your Plumber or Contractor: The source of the problem may not always be clear. In this case, it’s best to consult with the plumber or contractor who performed the work. There may be debris that dislodged during the work that’s now blocking the pipes.
When To Call a Plumber for Low Water Pressure
If you’ve tried to find and repair the source of your poor water pressure but have come up empty, it’s time to consult a professional. Seeking the help of an expert plumber ensures your water pressure is fixed effectively and efficiently. While there are a few issues you can fix DIY, including dirty aerators, limescale buildup, and partially shut main water valves, others require the expertise of a licensed plumber. Always consult a qualified plumber, such as those at WaterGuard Plumbing, if you’re dealing with the following: